As you probably know, SSH protocol can be used to upload files over an encrypted channel. Although transferring of large files can be interrupted by the loss of connection.
To resolve this issue you could use rsync or “Remote Synchronization” — an efficient tool that synchronizes the content of two directories. It incrementally copies only new files or diffs of updated files, which results in significantly faster transfer time. These files may get compressed to further reduce the load on the network.
Requirements
- SSH access to the remote server.
- Rsync must be installed on both systems: destination and the source. Puzl has rsync installed on its servers.
- The user, who is running rsync, and the remote SSH user must have appropriate permissions to read and write files.
Install rsync on your system
- Pick suitable package manager.
On Debian based distributions (Ubuntu):
apt-get install rsync
On rpm-based distributions (Fedora, CentOS):
yum install rsync
On macOS:
brew install rsync
- Check whether the installation was successful by running the following command, which prints rsync version.
rsync -version
On Windows there are several tools that enable rsync:
- Acrosync — GUI client;
- Cygwin — Posix runtime for WIndows, that ships rsync among other packages;
- Or you can enable Windows Subsystem for Linux (WSL), install a Linux distribution of your choice, and in this distribution, to run rsync. Check the guide on how to enable WSL in official Microsoft documentation. Then to install rsync run:
sudo apt install rsync openssh-client
Upload files
- Rsync requires the source and the destination to be specified.
The basic syntax is:
rsync {options} {source} {destination}
- It's recommended to run the following script. The script is wrapped in a while loop, so the process will reconnect in case of failure.
while ! \rsync -aHxvh \--numeric-ids \--progress \-e "ssh -T -c aes256-gcm@openssh.com -o Compression=no -o StrictHostKeyChecking=no -x -p {EXTERNAL_PORT}" \{PATH_TO_YOUR_FILE_OR_DIRECTORY} {USERNAME}@{SERVER}:/{DESTINATION}; do sleep 1; done
If you’re using Puzl parameter's values would be the following:
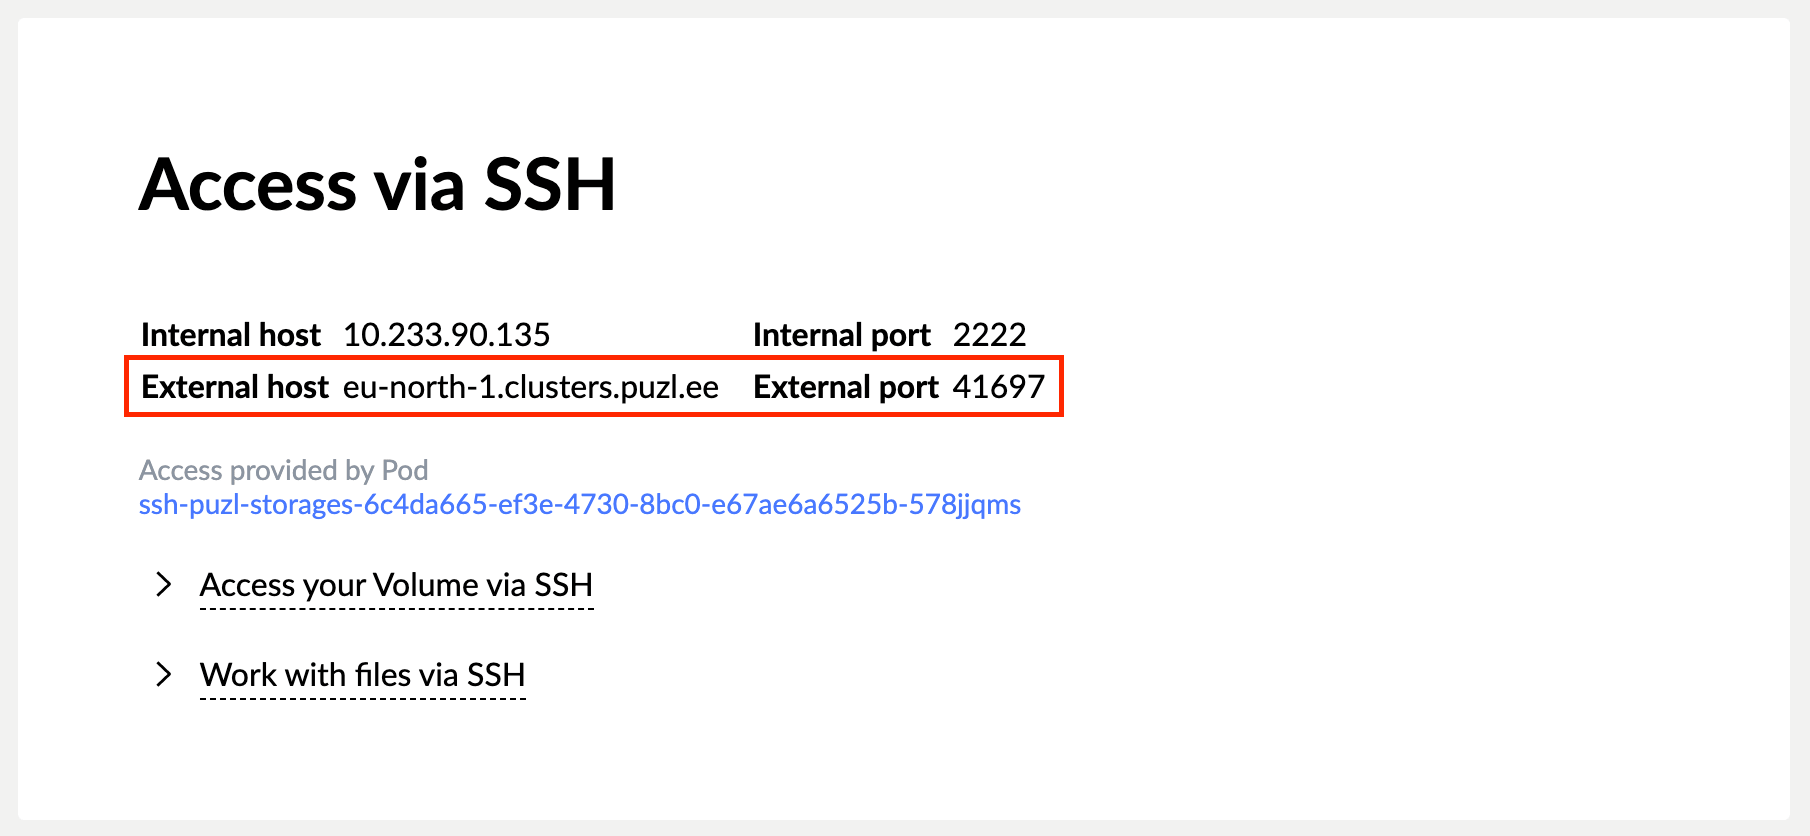
{EXTERNAL_PORT}— this port will be created for you when you request SSH access for your Volume or create a pod with SSH access. More on this later in the article.{DESTINATION}— for Volumes created by Puzl it is equal tomedia/{VOLUME_NAME}{USERNAME}— ubuntu{SERVER}— eu-north-1.clusters.puzl.ee
Here we use some options meant to increase transfer speed:
-o Compression=no— turns off SSH compression, compression slows down the transfer process;-c aes256-gcm@openssh.com— specifies a cypher algorithm. aes256 shows one of the best performances in benchmarks. You can runopenssl speedto test the approximate performance of different algorithms on your hardware;-x— forbids running of graphic applications over SSH, thus facilitating the work of SSH server.
Other useful flags:
-aor--archive— copies not only files but also preserves almost every connected data like permissions and modification time, enables recursion into directories as well;-hor--human-readable— outputs numbers in a more human-readable format;--progress— displays transfer times, as well as the name of the files and directories;-T— disables pseudo-tty allocation, because some servers could abort a transaction entirely if a text-terminal (tty) is requested;-o StrictHostKeyChecking=no— without this key if Pod restarts while loop is not finished, files transferring will abort.
You can learn about other possible flags in this rsync cheatsheet.
- Once the process is finished, verify that you have received your files on the destination server by connecting to the server and running.
ls -l
How to setup SSH access if you are using Puzl
If you still don’t know what Puzl is, I recommend you to take a look at our previous article about the Pure Kubernetes Cloud concept.
Add SSH key to your account: go to the Security page of your Account and add SSH public key.
Setup SSH access to your Volume.
- If your Volume is not created yet, pick an option
Add SSH accessin the Volume creation form; - If your Volume has been created already, you can set up access right on the Volume’s page.

In both cases to set up SSH access a Pod will be created with minimal resource request: 128MB RAM and 0.1 vCPU.
You will also see an external port created for you. Use this external port to connect by SSH or transfer files with rsync.


