This article shows how to deploy your web application (HTTP server), and securely expose it to the Internet over HTTPS protocol.
Requirements
- kubectl and Helm must be installed on your computer. If you’re using Puzl, you may find the personalised config, necessary to set up kubectl, in the API section of the Dashboard.
- Kubernetes cluster must support Services with
loadBalancertype and have cert-manager installed. On Puzl, both load balancers and cert-manager are already available in your free Kubernetes namespace out of the box. - Your application must be containerized (packed in a Docker image), pushed to a Docker registry, and support HTTP protocol. The application itself does not have to support SSL or TLS: it will be running behind the Nginx ingress controller connected by HTTP, so you don’t need to tune anything in your code.
‼︎ Caution: Performing the following steps will result in requesting computing resources from the Kubernetes cluster.
Setup ingress controller
- Deploy NGINX Ingress Controller using Helm, and create a load balancer with a dedicated IP address, which is allocated automatically if you use Puzl.
helm repo add ingress-nginx https://kubernetes.github.io/ingress-nginxhelm repo updatehelm install <controller_name> ingress-nginx/ingress-nginx \--namespace <namespace_name> \--version 4.2.5 \--set controller.image.registry=k8s.gcr.io \--set controller.image.digest="" \--set controller.ingressClass=<ingress_name> \--set controller.ingressClassByName=true \--ser controller.ingressClassResource.enabled=false \--set controller.replicaCount=2 \--set controller.scope.enabled=true \--set controller.resources.requests.cpu=100m \--set controller.resources.requests.memory=128Mi \--set controller.resources.limits.cpu=1000m \--set controller.resources.limits.memory=1024Mi \--set controller.admissionWebhooks.enabled=false \--set controller.nodeSelector="" \--set controller.service.appProtocol=false \--set rbac.create=false \--set podSecurityPolicy.enabled=false \--set serviceAccount.create=false \--set serviceAccount.name=user \--atomic \--timeout 600s
<controller_name>— unique name for the controller<namespace_name>— if you’re using Puzl, you’ll find it in the API section in your Puzl Dashboardcontroller.ingressClass=<ingress_name>— class name for ingress object must be unique.serviceAccount.name=user— name of the account with the permissions to access API,useris your service account name on Puzl.
The following flags are relevant in case you’re using Puzl:
controller.replicaCount=1controller.scope.enabled=true— tell the controller to look for ingress resources only in your namespace.controller.admissionWebhooks.enabled=falserbac.create=false— do not give excess permissions to create roles and role bindingspodSecurityPolicy.enabled=falseserviceAccount.create=false
After performing the step, you can get Pod and Service using kubectl or you should see a Pod and a TCP/UDP Balancer in your dashboard if you’re using Puzl.
In case of troubles check out NGINX Ingress Controller Troubleshooting.
Get external IP of load balancer
- To get IP, get list of Kubernetes Services in your namespace and find
EXTERNAL-IP.
kubectl -n <namespace_name> get service <controller_name>-ingress-nginx-controller
- Check that IP is accessible from outside.
curl <external_ip>
Expected response:
<html><head><title>404 Not Found</title></head><body><center><h1>404 Not Found</h1></center><hr><center>nginx</center></body></html>
- Assuming that you already own a custom domain, create DNS ‘A’ record to match your domain or its subdomain to a given IP address.
Create cert issuer to request TLS certificate from Let’s Encrypt
Kubernetes can be extended with a native certificate management controller — cert-manager. It can help with issuance of TLS certificates from various providers like Let’s Encrypt, a signing key pair or self-signed. At the moment Puzl supports only letsencrypt certificates.
At this step you need a cert-manager installed.
Signed certificates are generated by a special Kubernetes resource — Issuer. We use ACME type of Issuer — Automated Certificate Management Environment (ACME). A website with TLS certificate backed by ACME Issuer is trusted by most client’s web browsers by default.
- Describe the Issuer configuration in a
spec.yaml.
apiVersion: cert-manager.io/v1kind: Issuermetadata:name: letsencryptnamespace: <namespace_name>spec:acme:# The ACME server URLserver: https://acme-v02.api.letsencrypt.org/directory# On January 11th 2021, Let’s Encrypt will change over to using its own ISRG Root CA.preferredChain: "ISRG Root X1"# Email address used for ACME registrationemail: <your_email># Name of a secret used to store the ACME account private keyprivateKeySecretRef:name: <secret_name># Enable the HTTP-01 challenge providersolvers:- http01:ingress:# ingressClassclass: <ingress_name>
Choose any free <secret_name>, the signed certificate will be stored as a Secret object.
- Apply the configuration via
kubectl.
kubectl apply -f spec.yaml
The signed certificate is now stored as a Secret named <secret_name>.
Run your web application in Kubernetes
In the code snippet below we’re deploying an example sanic server by creating a Deployment with 1 replica and Service for it.
However, you can use Docker image with any web server (Apache, built-in PHP, etc.) and tune the configuration up to your requirements.
- Describe your app configuration in a
.yamlfile.
apiVersion: apps/v1kind: Deploymentmetadata:name: example-sanic-servernamespace: <namespace_name>labels:app: example-sanic-serverspec:replicas: 1selector:matchLabels:app: example-sanic-servertemplate:metadata:labels:app: example-sanic-serverspec:containers:- name: example-sanic-server# Path to a Docker image with your applicationimage: puzlcloud/example-sanic-server:0.2.0resources:requests:memory: "256Mi"cpu: "100m"limits:memory: "256Mi"cpu: "100m"ports:# HTTP port which your server listens- containerPort: 1616---apiVersion: v1kind: Servicemetadata:name: example-sanic-server-servicenamespace: <namespace_name>spec:selector:app: example-sanic-serverports:- protocol: TCPport: 80# The same HTTP port of your servertargetPort: 1616
- Apply previously created
.yamlto deploy your app.
kubectl apply -f spec.yaml
Create ingress object
Ingress is used to expose HTTPS routes from outside of the cluster to services within the cluster (by default Kubernetes isolates Pods from the external world)
- Describe ingress object in a
.yaml.
apiVersion: networking.k8s.io/v1kind: Ingressmetadata:name: example-sanic-servernamespace: <namespace_name>annotations:kubernetes.io/ingress.class: <ingress_name>cert-manager.io/issuer: letsencryptspec:rules:- host: <your_domain>http:paths:- path: /pathType: Prefixbackend:service:name: example-sanic-server-serviceport:number: 80tls:- hosts:- <your_domain>secretName: <certificate_name>
<certificate_name> — must be different from a Secret name used for the Issuer.
- Apply the configuration via
kubectl.
kubectl apply -f spec.yaml
You should see a Pod launched to obtain a certificate. This process may take a few minutes. To check its status run:
kubectl -n <namespace_name> get certificate <certificate-name>
READY should be true.
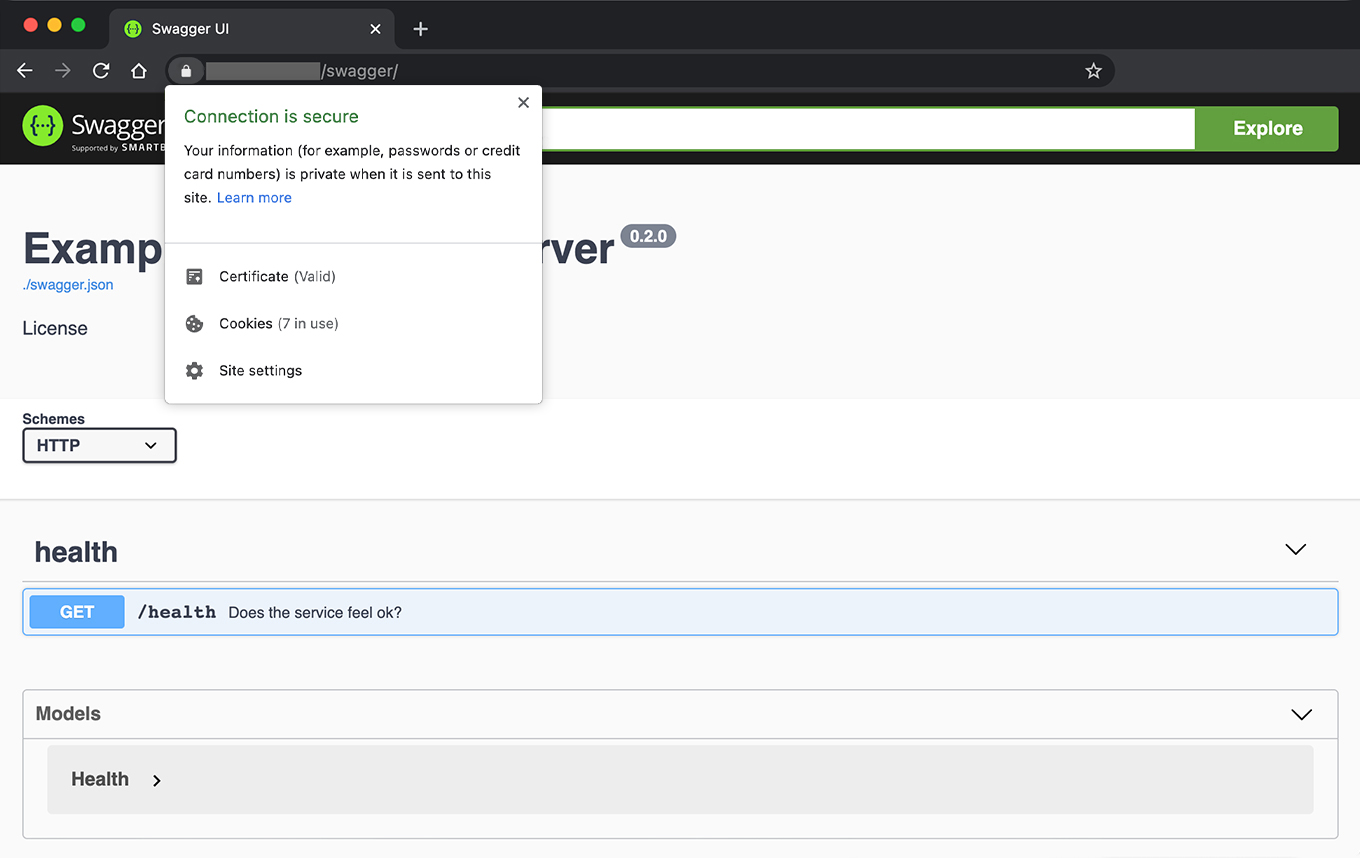
To check that our web server is working open in the browser: https://<your_domain>/swagger/


